DIY: Halo Braid
Shirt: Target // Jeans: Jessica Simpson Collection (under $40) // Lips: Kate Moss for Rimmel // Nails: Ciate
After receiving so much positive feedback over the past few posts I've done with the halo braid (here on Instagram and last seen here on the blog), I decided to crack down and do a tutorial. This is my go to hairstyle for humidity, rainy days or hot afternoons. It's easy and takes less than 5 minutes once you get the hang of it. The key is a little practice. I guarantee the tenth time you try it, you will see much better results than the first time. Also, I am using clean hair in this tutorial - but with sea foam as a texturizer. I have really thick wavy hair with a lot of body and volume. This style may be a little more difficult if you have thinner hair.


Start with dry hair, but add in mousse or texturizer to keep it together. I also will wear my hair like this a day or two after shampooing. I really like using Tresemme's Perfectly Undone Wave Creation Sea Foam or Garnier Fructis Style Sky-High Mousse. Whichever you prefer, add a product that will give it a little hold and texture. I also use a wide tooth comb (bought at a local drugstore or Target...nothing fancy here). It causes less breakage and really makes it easy to style without tangling.


I work the mousse in from the bottom up and then part it on the side. You can do this down the middle, but I find it's harder to get the symmetry right. I prefer a side swept look. Basically, a halo braid is two smaller reverse french braids. You'll start at the top and work your way from your part down to below your ear. You'll want to grab big chunks of hair from the back of your head as you go. Finish by braiding all the way down and secure with a hair tie. Although I am using a colored one for demonstration, a small clear one would be ideal.


Once secured, start pulling the braid gently to make it wider. Do this all the way through the braid. That's what gives the illusion of a thicker braid. Just be careful not to pull too quickly or too hard. You want to make sure you keep the braid in tact.


Now, you will start the second braid at just below where you last left off. You'll begin by braiding from the base of your neck up to your part. This takes the most practice, because you are braiding up not downward. You'll grab hair from the top in large chunks, just like you did on the other side. Once you get to the top of the ear, you will begin braiding it off and secure with a hair tie.
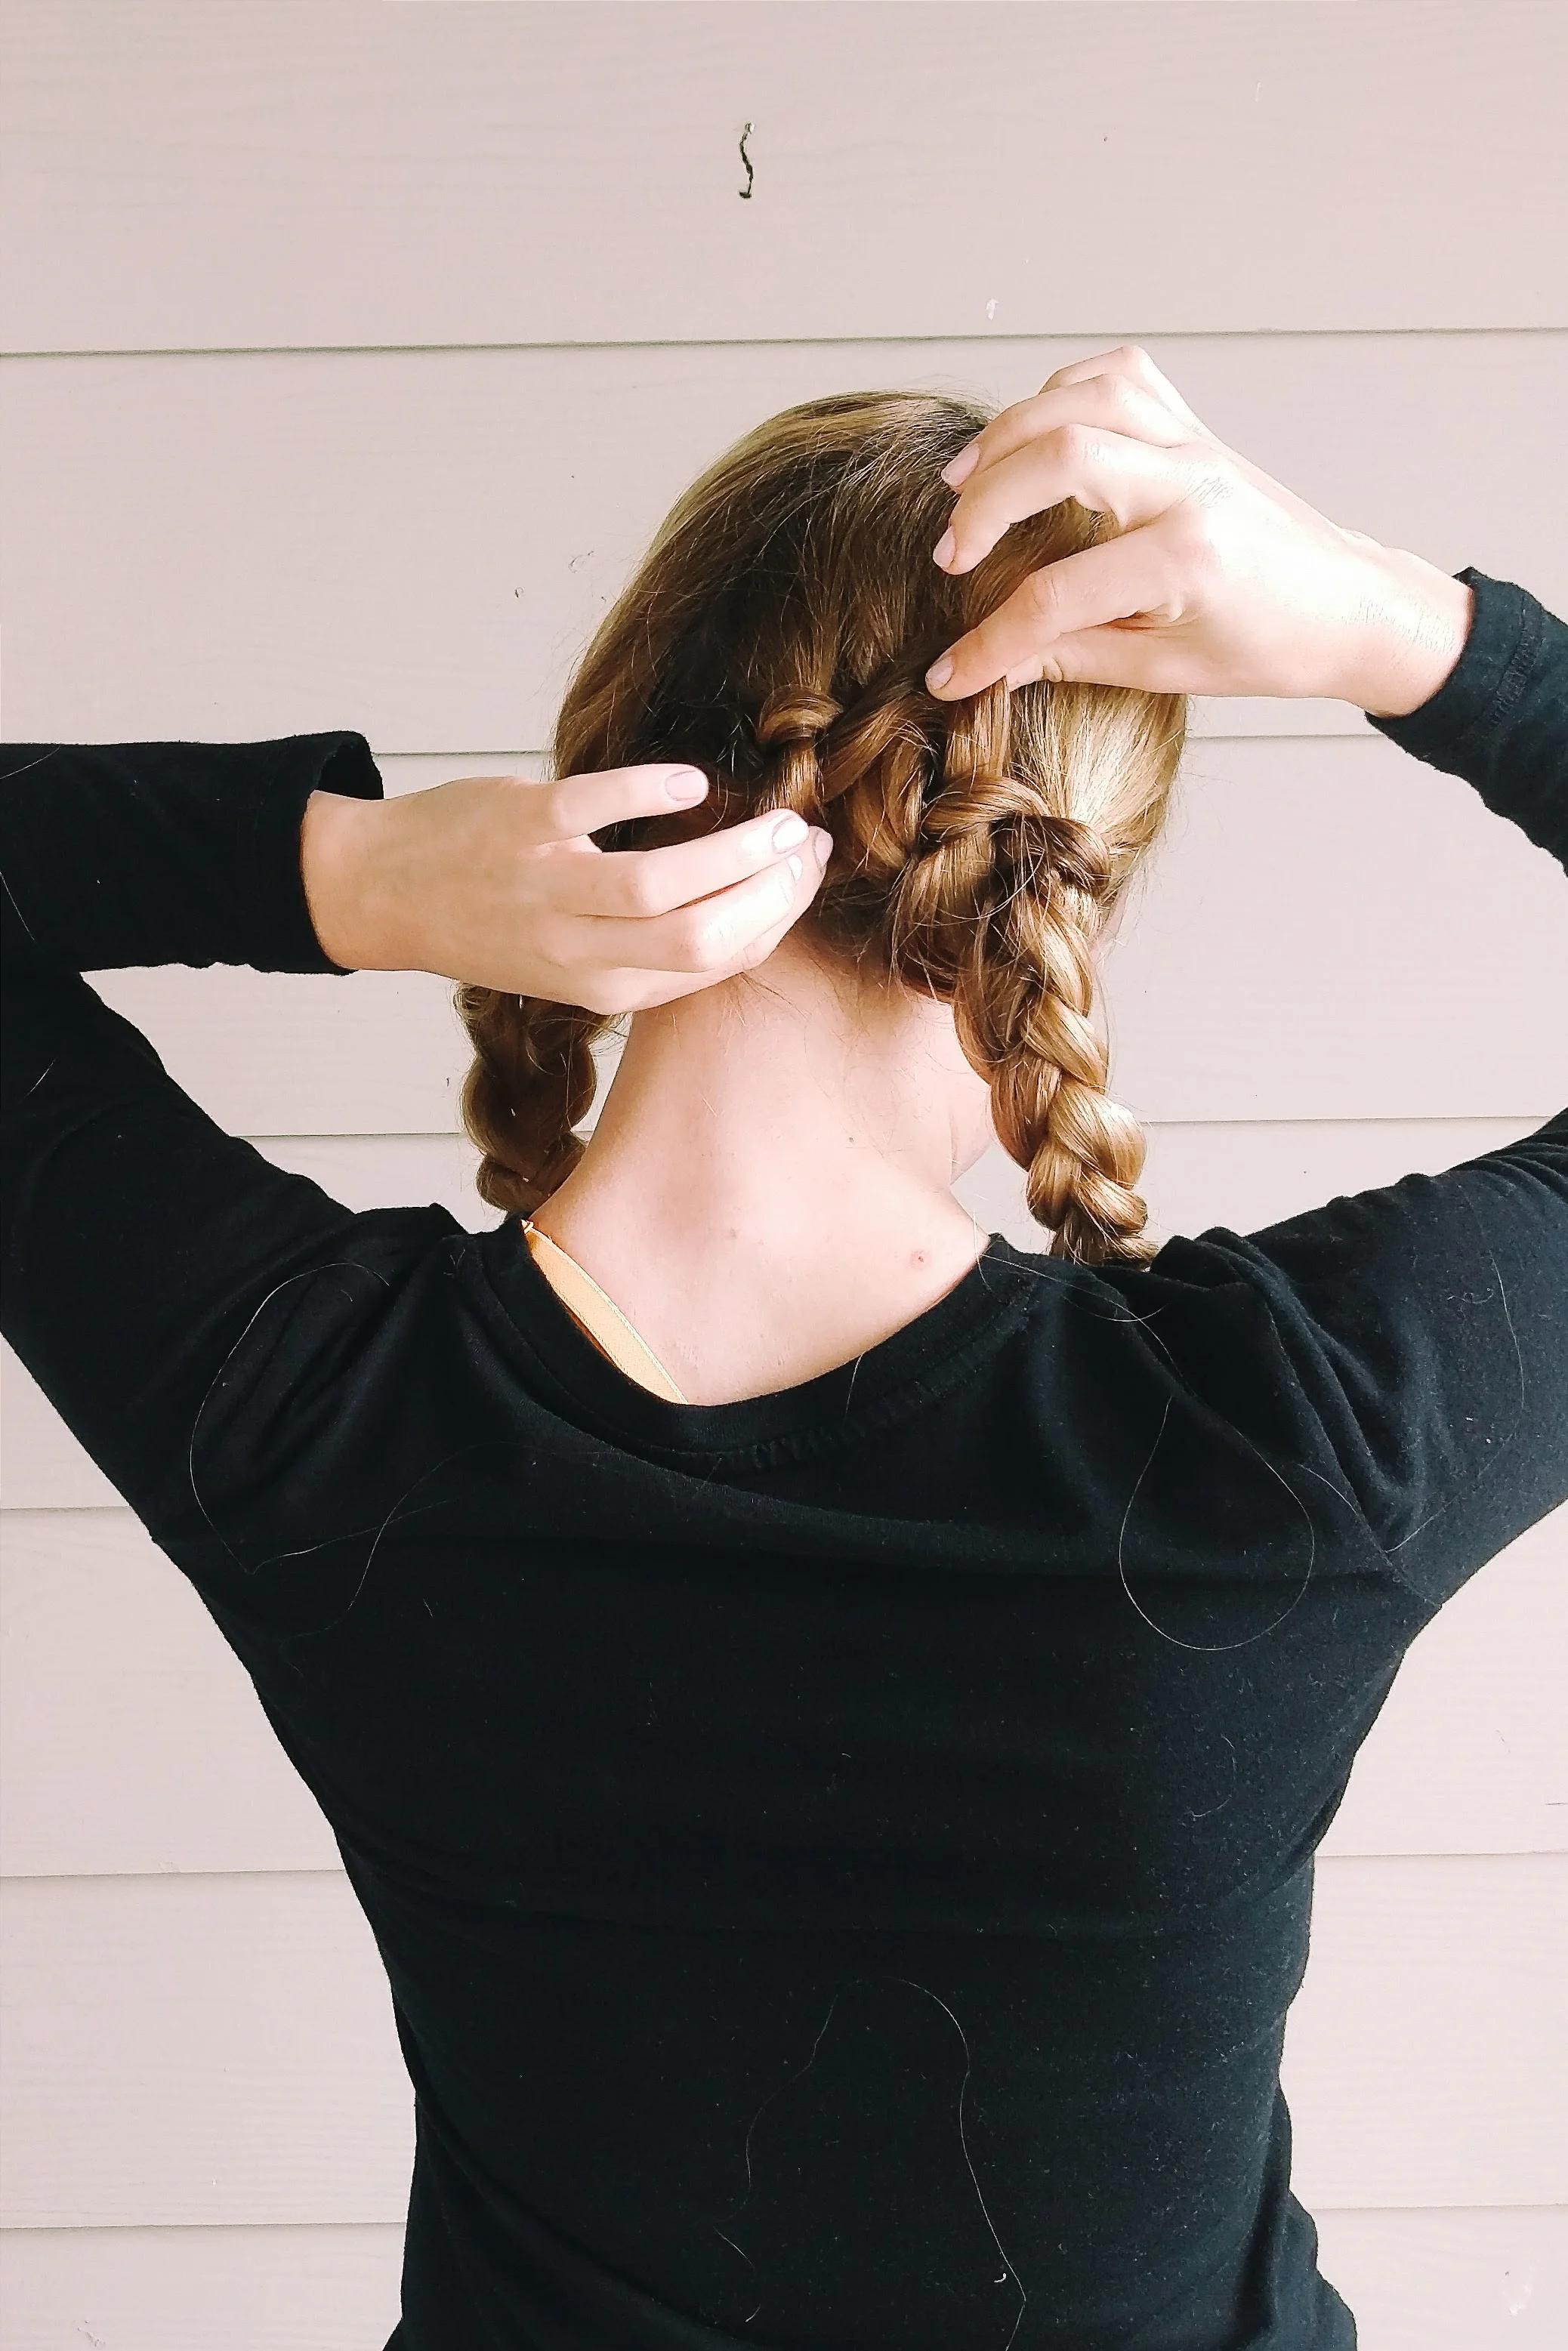

Start gently pulling the braid apart to make it thicker. Once you've worked it looser from the top of the braid to the tip where your tied it off, you will then wrap the tip around the top of your head and tuck it underneath your first braid. Secure with bobby pins.
Then, take your original braid and wrap it around your head until you tuck it underneath the other braid. Secure with a few bobby pins. Sometimes, it takes a little adjusting to get it right and you may have to pull the braid wider to cover each end. I usually add more bobby pins throughout, just to make sure everything stays in place. You can mist with hairspray or just leave as is.

