How To: DIY Gel Mani
I thought in honor of NYE coming up I would [ost how to do your own gel manicure. Some of my goals for 2016 is to add more lifestyle, how to and DIY content. I'm a DIY lover! Yep, from paintings to beauty products... you name it - I love to make it! One of the things I do more often than not is my own gel manicures. At anywhere from $25 up on going to the salon... it's a big way I save money and still take care of my hands. It's funny, I've read many bloggers like Julia from Gal Meets Glam and celebrities, like Kristen Bell do their own manicures.
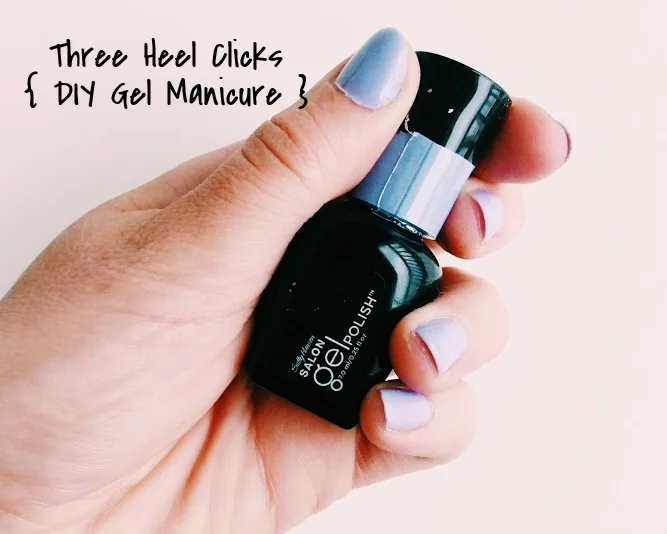
From time to time, I still go to the salon for maintenance on my cuticles, but a simple polish change is not worth sitting there for an hour and letting my nails dry. Plus, I don't know about you, but if you wash dishes or type - a regular mani isn't going to cut it. Here are few tips to get started and video posted below for you to watch in detail of how to do your own gel mani. I use Sally Hansen's Sensational kit, but here is another one about the same price point. The kit comes with approximately 10 manicures so they are about $5 each. Also, I really like this color - reminds me a lot of Pantone's Serenity for 2016.
- Take your time - you will be applying four layers, so do it carefully.
- Apply thin layers - This is probably the biggest thing I've learned.
- Dry for 60 seconds between coats - Not 30 seconds like the instructions in some of the kits say.
- Practice makes perfect - If you don't get it right the first time, peel off and repeat. It takes a few practice rounds to get it right.
- It dries wayyyy faster than a regular mani - From start to finish it takes me about 20 minutes including drying.
Hope you enjoy! And let me know what you think!